Preparing the Printer and Printing
Follow these steps to load the paper and the ink cassettes in the printer and print.
-
Turn the printer on.
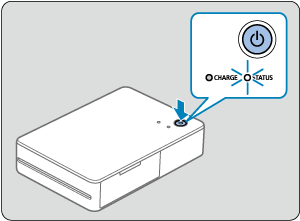
- Hold down the power button until the STATUS lamp starts blinking in white. Wait until the lamp remains lit.
-
Load paper.
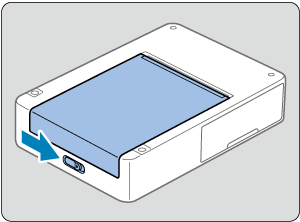
- Slide the open lever to release the lock, and open the paper compartment cover.
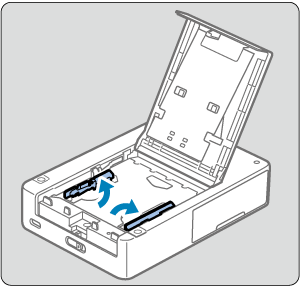
- Raise the paper guides.
- Do not raise the paper guides when loading square format paper.
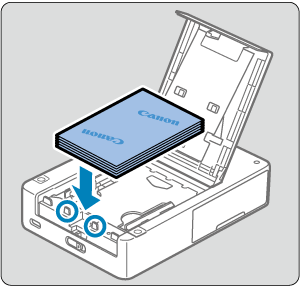
- Load the paper (up to 10 sheets) with the printing surface (without the Canon logo) face-down, being careful not to touch the printing surface.
- Align the paper with the circled parts, not against the back of the compartment.
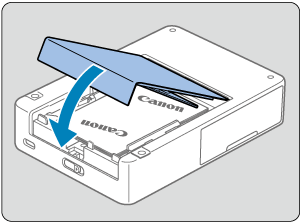
- Close the paper compartment cover.
-
Load the ink cassette.
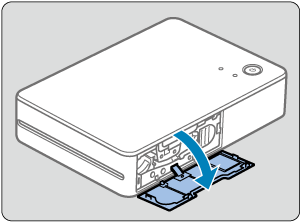
- Open the ink cassette compartment cover.
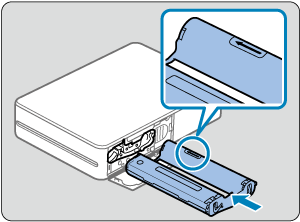
- With the new ink cassette correctly oriented, insert it in the printer until it clicks into place.
- Use a suitable ink cassette for the size of paper loaded.
-
Scan the QR code to connect to the printer and register it.
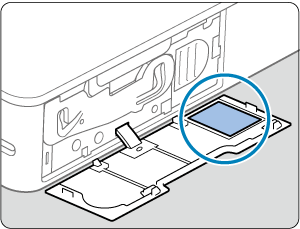
- Following the SELPHY Photo Layout instructions, scan the QR code to connect to the printer and register it.
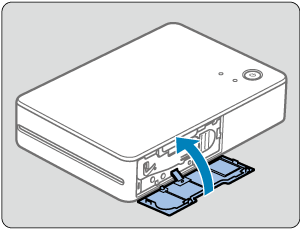
- Close the ink cassette compartment cover.
-
Print.
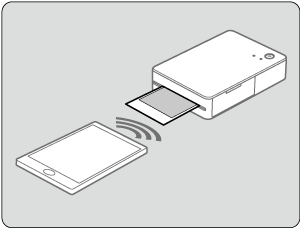
- Print from SELPHY Photo Layout.
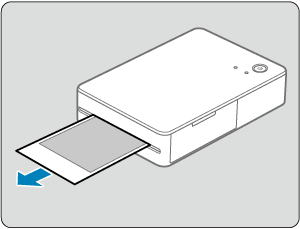
- Remove the printouts after printing is finished.
-
Turn the printer off.
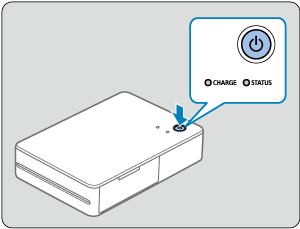
- After use, hold down the power button until the STATUS lamp turns off.
Caution
- Place the printer on a table or other flat, stable surface. Never place the printer on an unstable or tilted surface.
- Leave space for printouts by the delivery outlet.
- The QR code label will be required if you need to register the printer again—for example, if you switch smartphones. Keep a record by taking a photo of it with a smartphone camera or other device.
Note
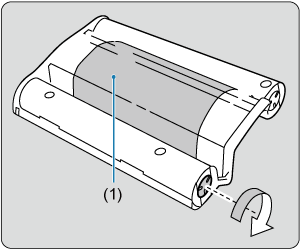
- If the ink sheet is loose, turn the sprocket gently to tighten it. Do not touch the ink sheet (1).
