Setting the IP Address
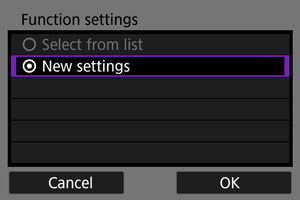
These instructions are continued from configuring the connection settings for using an access point.
Select the IP address setting method and set the IP address to the camera. When using IPv6, a connection can only be established using IPv6. A connection cannot be established using IPv4.
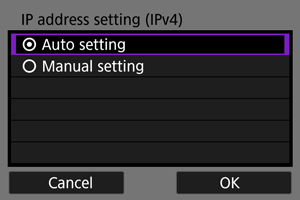
Setting the IP Address Automatically
The IP address settings are configured automatically.
-
Select [Auto setting].
-
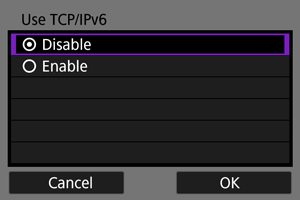
Select the IPv6 setting.
-
Select [OK].

- The next screen is displayed.

Setting the IP Address Manually
The IP address settings are configured manually. The items displayed will differ depending on the communication function.
-
Select [Manual setting].
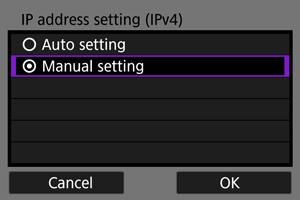
- Select [OK] to proceed to the next screen.
-
Select the item to be set.
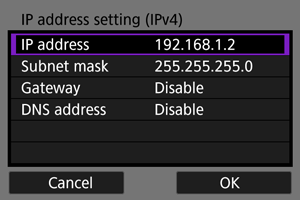
- Select an item to display the number entry screen.
-
To use a gateway or DNS address, select [Enable], then select [Address].
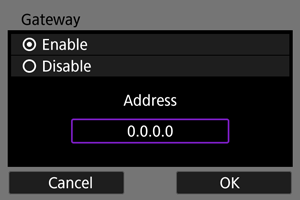
-
Enter the desired values.

- Use
 to select the input position in the upper area and use
  to select a number. Press
  to enter the selected number.
 - To set the entered values and return to the screen in step 2, press the
 button.
- Use
-
Select [OK].
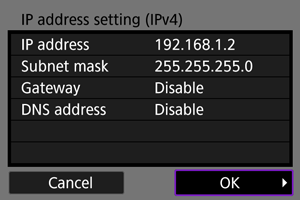
- When you have completed setting the necessary items, select [OK]. The next screen is displayed.
- If you are not sure what to enter, see Checking Network Settings or ask the network administrator or similar person.
-
Select the IPv6 setting.

-
Select [OK].
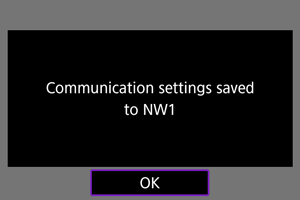
- The next screen is displayed.