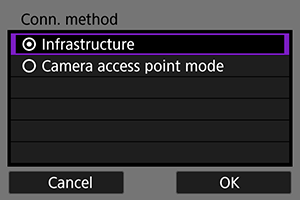
Connecting Using an Infrastructure
These instructions are continued from Displaying the Connection Wizard.
Establish a connection by selecting the SSID (or ESS-ID) of the access point to connect to.
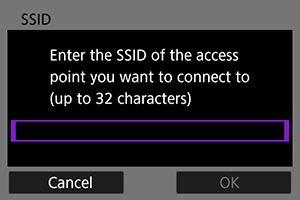
Entering the SSID
Specifying the Authentication for the Access Point
-
Select the authentication.
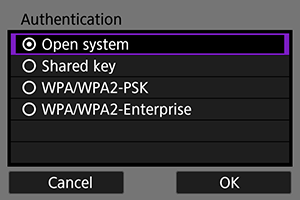
- Select an item and select [OK] to go to the next screen.
- If you select [Open system], the [Encryption settings] screen will be displayed. Select [None] or [WEP] on this screen.
Entering the Access Point Encryption Key
- Enter the encryption key (password) specified for the access point. For details on the specified encryption key, refer to the access point's instruction manual.
- The screens displayed in steps 4 and 5 below vary depending on the authentication and encryption specified for the access point.
- Go to Setting the IP Address when the [IP address set.] screen is displayed instead of the screens for steps 4 and 5.
-
Select a key index.
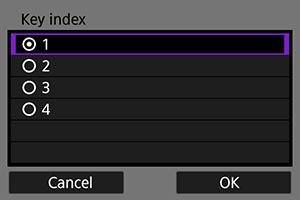
- The [Key index] screen is displayed when [Shared key] and [WEP] are selected in step 3.
- Select the key index number specified for the access point.
- Select [OK] to proceed to the next screen.
-
Enter the encryption key.
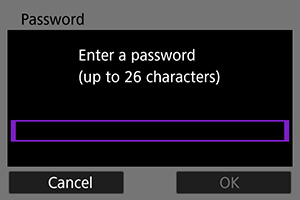
- Press
 to display the virtual keyboard (), then enter the encryption key.
 - Select [OK] to establish a connection with the access point.
- When a connection with the access point is established, the next screen is displayed.

Go to Setting the IP Address.
- Press